How to Subscribe
to Revive Adserver Hosted edition
This article describes the two steps it takes to set up a new subscription for an account at Revive Adserver Hosted edition.
Creating a new subscription for Revive Adserver Hosted edition is a simple process, which should take no more than a few minutes and involves only two screens.
To get started setting up a new subscription for Revive Adserver Hosted edition, go to the page at https://www.revive-adserver.net/subscribe/ using any of the buttons and links on our website.
Pricing plan
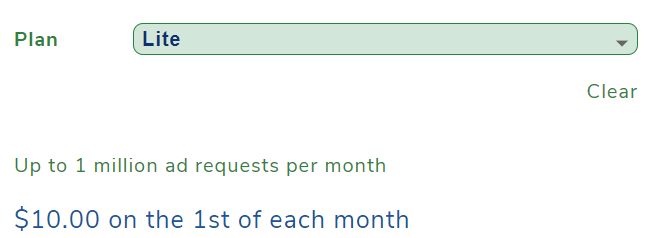
First, select your desired pricing plan from the drop down list:
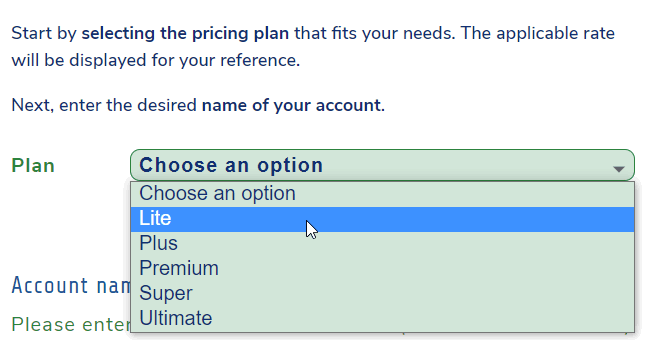
Once a pricing plan has been selected, the monthly costs are displayed underneath the selection tool, along with how many ad requests per month that pricing level allows for.
If you think that the selected pricing plan is too small or too large, simply select one of the other plans before proceeding.
Account name
Next, enter the account name you’d like to use for your Revive Adserver Hosted edition account.
Note that this is NOT the username you’ll be using to log in, it is simply a name associated with the account, similar to a project name, a company name, a website name, or anything of that sort.
Account names can be as short as 4 characters, but they can be up to 48 characters long. It is possible to use spaces and punctuation in account names. Most subscribers use their company name, or the name of the internet project, as their account name.
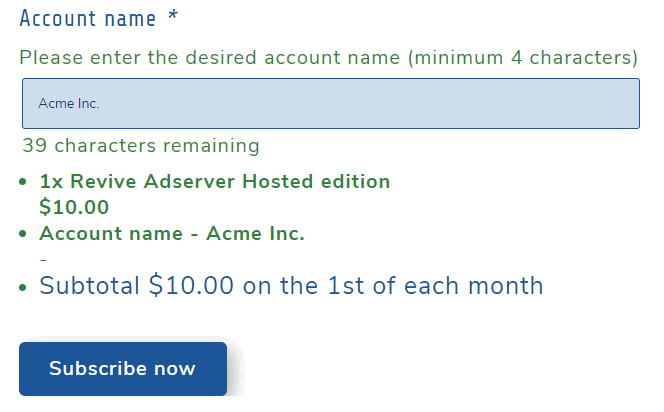
The screen shows a summary of the subscription you’re about to create. If everything looks OK, simply click the Subscribe now button to proceed to the second and final screen.
Enter billing details
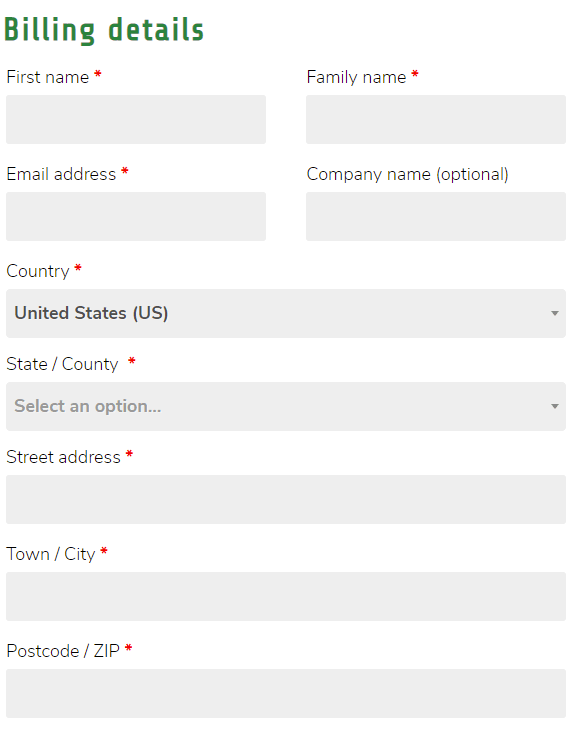
On the checkout page, you can now enter the billing information that needs to be displayed on the invoices our system will send you with every payment confirmation. Mandatory fields are marked with a small red asterisk.
Most of the times, our site will automatically detect your country. In some cases, you may need to select another country, for example if you physically reside in one country but the company you represent is officially registered in another country. For some countries, you will be able to select the appropriate state, province, district or region.
Subscribers in the European Union
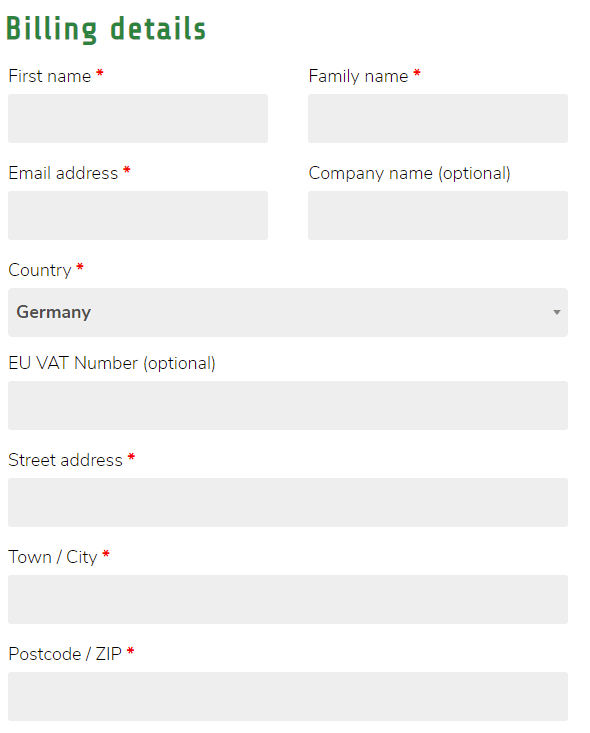
If the selected country is part of the European Union (EU), an additional field will appear where you can enter the EU VAT number of your company.
Note the following rules:
- For subscribers who are located outside the EU, we do not charge VAT.
- If you’re located in the EU and do not have an EU VAT number, we are legally required to add 21% Dutch VAT to the invoice. This applies to businesses and private persons alike.
- If you’re subscribing on behalf of a business located in the EU, you can enter your valid VAT registration number to remove VAT from your payments (“VAT Exempt”).
- If you subscribe from The Netherlands, we are required to add 21% VAT in all cases, since the Revive Software and Services company is also registered in The Netherlands. However, as a business you will still have to enter a valid Dutch VAT number, if you want to receive an invoice that can be used for a VAT refund.
The amount of VAT you pay will be clearly marked on the invoice you receive with every payment. Dutch subscribers can reclaim this with their VAT filing (“BTW aangifte”).
The EU VAT number you enter will be checked in real time. If it is not a correct number, a warning message will be displayed. You can continue with an invalid EU VAT number, but that will mean you will not be EU VAT exempt.
Order summary
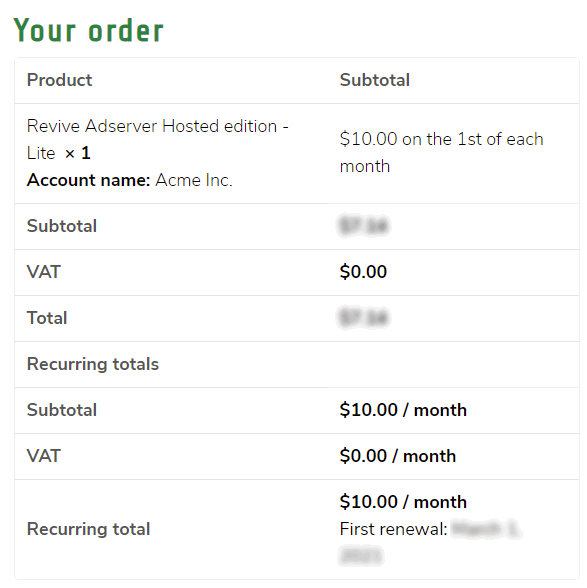
Also on the checkout page, a summary of the subscription is displayed for your reference.
It shows the pricing plan you selected, and the account name you entered, plus the monthly costs for the selected pricing plan.
It also shows the amount that is about to be charged to your credit card upon creation of the subscription. This is a prorated amount calculated from the number of days remaining in the current month. For example: if you subscribe on April 15, there are 15 of the 30 days remaining. In that case you’d pay a prorated amount on April 16 calculated as 15/30 of your selected pricing plan. For the Lite plan, that would mean 1/2 of $10, so $5.00.
The overview also shows when the next full renewal payment will occur, and the amount that will be charged at that time.
Credit card details
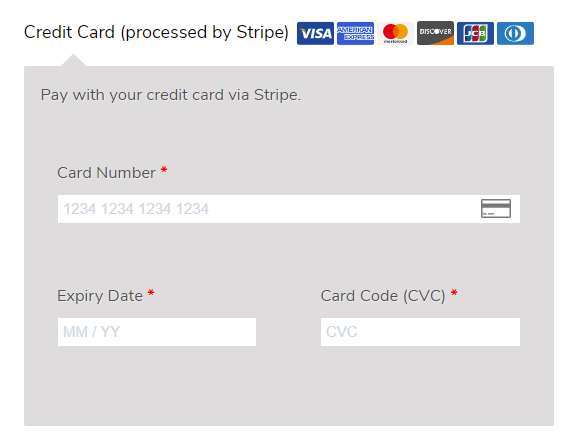
In the next section of the checkout page, you can enter your credit card number, expiry date, and CVC code.
We use the services of the well known company Stripe to process card payments. We do not store your card number ourselves, we rely on Stripe to do that. Since Stripe have take care of every possible security precaution, this is the safest way possible to use your credit card to subscribe with us.
What happens next?
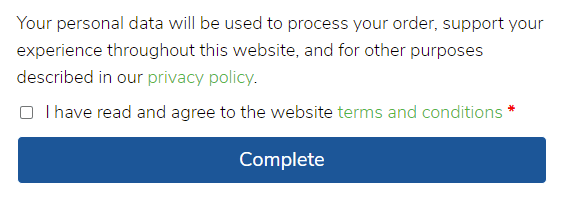
When you click the Complete button, your credit card will be charged. This can take a few seconds, depending on how quickly your credit card company approves the charge.
As soon as the payment is completed, you will receive a confirmation by mail, with an invoice attached as a PDF.
The same card will be charged on the first day of every following month.
You will also receive an email that contains information about the subscription you created, and the login details you will need to manage your subscription in the future. These login details are entirely separate from the login details for the ad server account.
Your account gets created
The team responsible for the operations at Revive Adserver Hosted edition will be notified about the new subscription. They will create the account in the system using the account name you entered, and then they will create a username for you to access the account.
This is a mostly automated process, but there is a manual check involved to make sure that no malicious accounts or users are given access to the Hosted edition. For that reason it can take a little while (up to a few hours) before you receive your login details.
Ad Server login details
Your username will simply be your first name and last name, all in lowercase, and with all spaces removed.
You will receive an email welcoming you to Revive Adserver Hosted edition, explaining what your username is, and how you can set your initial password.
Simply follow the steps explained in the email and you’re good to go.
Now it’s your turn!
After studying this visual guide, we think you’ll agree that subscribing to Revive Adserver Hosted edition is quick and simple.
